Table of Contents
- Start With the Source: Moisture Control Comes First
- The Post-Remediation Verification Process Explained
- Why HEPA Filtration and Air Scrubbers Matter After Remediation
- The Importance of Humidity Control for Indoor Air
- HVAC Maintenance and the Benefits of Professional Air Duct Sanitizing
- When to Schedule Indoor Air Quality Testing
- Cleaning, Ventilation, and Preventing Future Mold Growth
- Frequently Asked Questions
Last Updated: September 14, 2026
Start With the Source: Moisture Control Comes First
Improving indoor air quality after mold removal starts with one truth: if the moisture source is still active, nothing else will hold. Mold needs water, cut the water, and you cut the problem (the EPA).
This is the step most homeowners want to skip, but musty odors often return when a slow supply-line drip or a poorly graded downspout was never addressed. Remediation removes growth; it does not fix plumbing, roofing, or drainage.
Find and Fix the Moisture Before Anything Else
Walk the property and look for the obvious sources first:
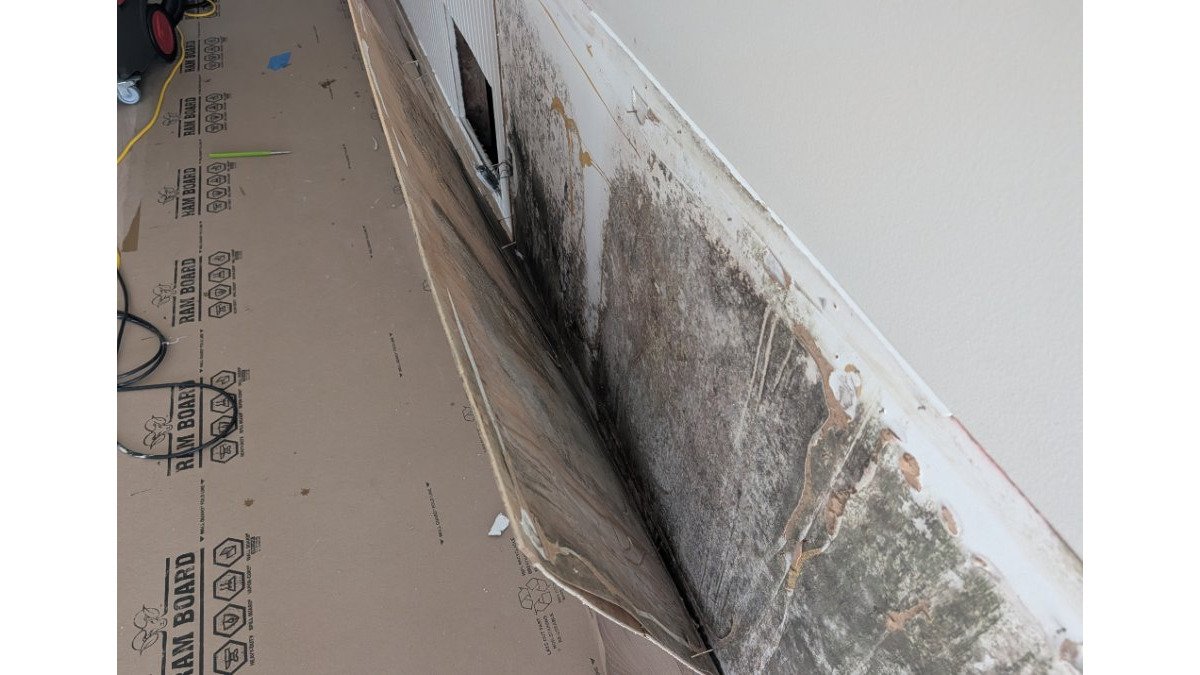
- Stained drywall, baseboards, or ceiling tiles
- Bubbling paint or soft, spongy trim
- Condensation on windows or supply registers
- Standing water in a drip pan or near the foundation
- Discolored grout or caulk in bathrooms and kitchens
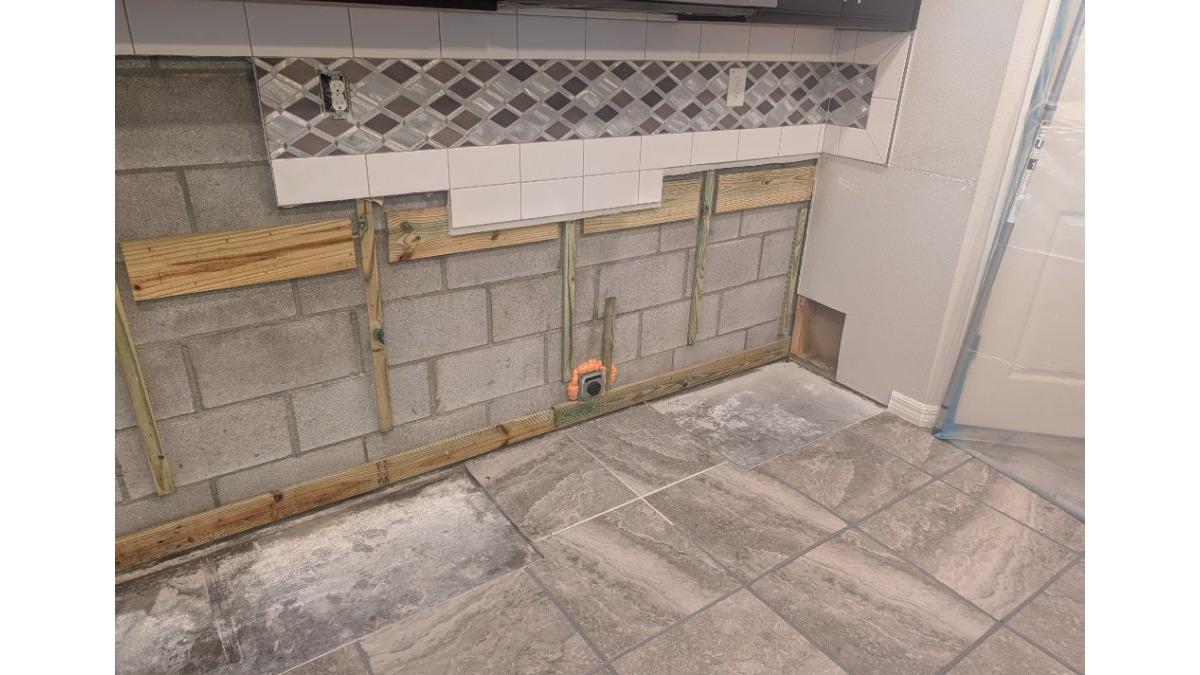
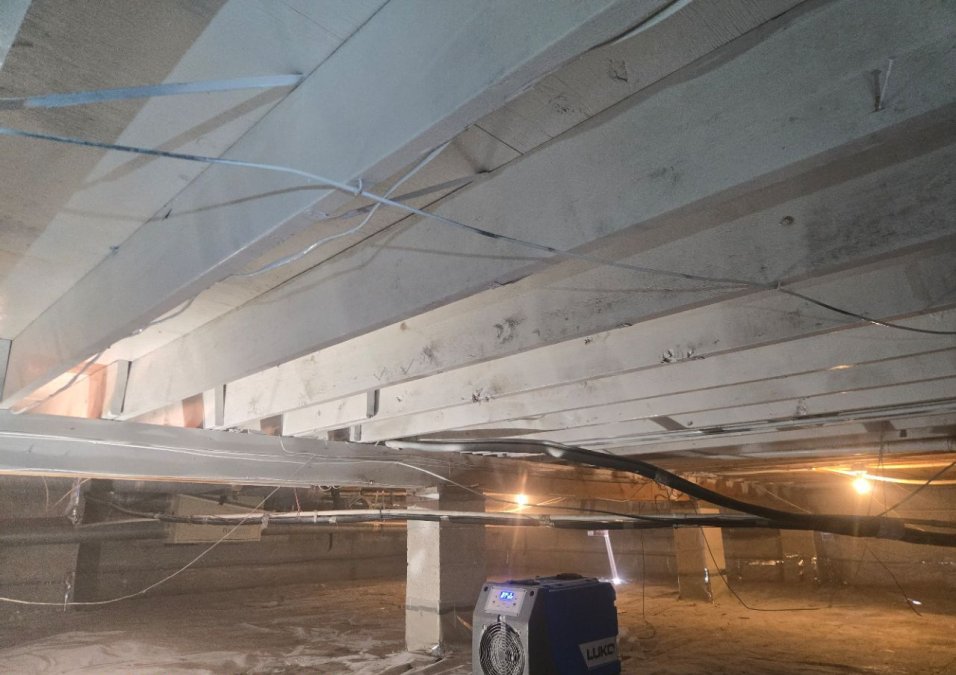
- A crawlspace with visible dampness or a dirt floor that stays wet
Any active leak needs to be addressed by the appropriate professional. Once the source is repaired, the building has a chance to dry and stay dry.
The Post-Remediation Verification Process Explained
The post-remediation verification process confirms that remediation work achieved what it was supposed to achieve. It typically combines a visual inspection with air sampling and, where surfaces are involved, surface swabbing.
What Air Sampling and Surface Swabbing Tell You
Air sampling captures airborne mold spores and other particulate matter at a point in time; surface swabbing samples residue from a specific area. A laboratory analyzes the samples, and results are used to evaluate conditions after remediation.
Two things to keep straight: no test proves a property is mold-free, and laboratory results are one input, not a verdict. Visual inspection, moisture readings, and the condition of the space all matter. At JLX Environmental, we perform post-remediation air testing after our remediation work and submit samples to a laboratory for analysis. Customers may choose an independent third-party verifier if they prefer.
Why HEPA Filtration and Air Scrubbers Matter After Remediation
Remediation disturbs spores, and even careful containment can leave fine particulate matter suspended and settling onto surfaces over the following days. HEPA filtration captures particles at 99.97% efficiency at 0.3 microns, the size range where mold spores and many bioaerosols sit (the EPA).
Air scrubbers move large volumes of air through HEPA filters during and immediately after work, while portable purifiers do the same at a smaller scale for ongoing use.
Choosing the Right Air Purification Setup
Match the equipment to the room, not the marketing:
| Setup | Best For | What to Check |
|---|---|---|
| Portable HEPA purifier | Bedrooms, offices, living areas | Clean air delivery rate (CADR) vs. room size; filter replacement cost |
| Whole-home HEPA bypass system | Central HVAC with ducted return | Filter pressure drop, blower compatibility, static pressure |
| Standalone air scrubber | Active work zones, post-work cleanup | Air exchange rate, filter rating, ducting options |
| Media filter upgrade | General dust and particulate control | MERV rating the system can handle without starving airflow |
A common mistake is buying a purifier rated for a 200-square-foot room and running it in an open-plan space five times that size. CADR is measured at the unit's highest fan speed, so a quiet purifier usually moves less air than its rating suggests.
Monitoring What the Filter Is Actually Doing
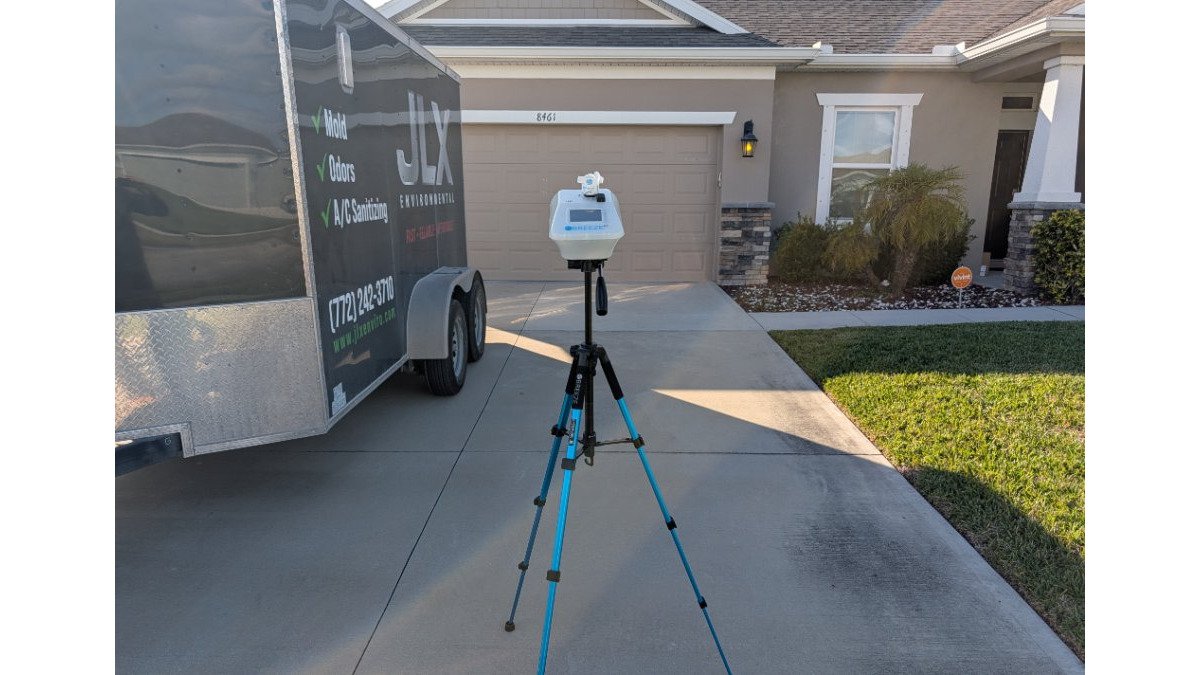
A filter running in a room tells you nothing about whether particulate levels are dropping unless you measure. Consumer-grade indoor air quality monitors are the closest thing to a feedback loop a homeowner can buy without hiring a professional. These devices provide the necessary data points to track your progress as you improve indoor air quality through consistent ventilation and filtration strategies.
What to look for in a monitor:
- Particulate matter channels. PM2.5 and PM10 readings respond quickly to filtration changes and to disturbances like vacuuming or opening a door.
- Volatile organic compound (VOC) sensing. Most consumer VOC sensors respond to total VOC load rather than identifying specific compounds. They are useful for spotting trends, not for identifying what is in the air.
- Temperature and relative humidity. A monitor that logs humidity alongside particulate gives you two of the three conditions mold needs in one dashboard.
- Data logging. A monitor that stores history lets you see whether the bedroom reading climbs overnight or whether the kitchen spikes only when you cook.
A practical pattern: place the monitor in the room you're most concerned about, log a week with filtration off, then a week with it on. A monitor won't tell you whether remediation succeeded, that's a question for professional evaluation, but it shows whether your filtration and ventilation habits are moving the numbers in the right direction.
Where Filtration Fits and Where It Does Not
Filtration manages airborne particulate. It does not remove the moisture that lets mold grow, and it does not clean a contaminated surface. A room with a running purifier and a wet crawlspace underneath it still has a moisture problem. Filtration supports source control and remediation; it does not replace them.
If you are unsure whether the particulate on a monitor is residual from remediation or something new, bring that question to a professional evaluation rather than guessing with a consumer device.
The Importance of Humidity Control for Indoor Air
The importance of humidity control for indoor air comes down to a single number: relative humidity. Keep indoor relative humidity below 60%, and you remove the conditions mold needs to grow (the EPA). That figure is a widely used practical guideline, not a hard biological line, the real driver is whether surfaces stay wet long enough, which depends on temperature, airflow, and how cold the surface is relative to the air around it.
Relative Humidity Is Not One Number
A single hygrometer reading tells you what the air is doing at that spot, at that moment. It does not tell you what is happening inside a wall cavity, under a cabinet, or on the underside of a roof deck, the surfaces where condensation actually forms.
Warm air holds more moisture than cool air, so when warm, humid air meets a surface cooler than its dew point, moisture condenses there. The same reading can be harmless in a well-circulated living room and problematic against a cold exterior wall in winter or on a supply duct in summer.
A few practical implications:
- Measure in more than one place. A bathroom, a laundry room, a room over a crawlspace, and a closed closet will often read differently from the main living area.
- Measure at different times. Morning and late afternoon readings can differ meaningfully, especially in summer when the air conditioner cycles less overnight.
- Watch the spread, not just the peak. A room that swings from 45% to 70% and back is telling you something different from a room that sits steady at 55%.
- Check surfaces, not just air. A cool interior wall or a metal duct that feels damp to the touch is a signal the air reading alone will miss.
Using a Hygrometer and Dehumidification to Stay Below 60%
A hygrometer tells you more about your indoor environment than most gadgets you can buy. Place one in the most humid room in the house, usually a bathroom, laundry, or a room over a crawlspace, and check it in the morning and late afternoon.
When readings climb, respond:
- Run the air conditioner. Cooling removes moisture as a byproduct, but only while it is running. An oversized system that short-cycles may cool the room without removing much moisture.
- Use exhaust fans in bathrooms and kitchens every time. A fan that runs a few minutes after a shower moves more moisture than one that runs only during it.
- Add a standalone dehumidifier to damp rooms or closed-off spaces. Match the unit's pint capacity to the space.
- Keep closet and interior doors open enough for air to move. Closed rooms with no return path stagnate.
- Address crawlspace moisture. A damp crawlspace feeds humidity upward into the living space and is a common reason a house reads higher than expected on the main floor.
Seasonal and Regional Patterns Worth Knowing
Humidity control is not a set-and-forget habit. In a warm, humid climate, outdoor moisture works in through open doors, gaps, and a damp crawlspace, with the air conditioner doing most of the dehumidification as a side effect. In cooler months the pattern often flips: indoor air stays humid from cooking, showers, and laundry, while cold exterior surfaces become the condensation point.
The same house can need different responses in different seasons. A winter condensation problem on a cold wall isn't solved by running a dehumidifier harder, it's solved by reducing the indoor moisture load or warming the surface. If readings stay elevated despite ventilation and dehumidification, find out where the moisture is coming from before treating the symptom.
HVAC Maintenance and the Benefits of Professional Air Duct Sanitizing
Your HVAC system moves air through every room in the house. If the ducts and air handler are dirty, they redistribute particulate matter, spores, and odors with every cycle.
The benefits of professional air duct sanitizing come down to three things: cleaner air distribution, odor reduction, and a system that isn't working against your remediation. Duct cleaning removes accumulated debris; sanitizing treats the interior surfaces of the ductwork. Together they reduce what a system can blow back into living spaces.
Practical HVAC maintenance between professional visits:
- Replace filters on schedule. A clogged filter strains the blower and reduces airflow.
- Check that condensate drain lines are clear and draining properly.
- Confirm the evaporator coil isn't growing biological material from standing moisture.
- Seal obvious duct leaks, especially in attics and crawlspaces.
Filter replacement frequency depends on filter thickness and household conditions. Thin filters need changing more often than thick ones.
When to Schedule Indoor Air Quality Testing
Indoor air quality testing makes sense when you need information you can't get by looking. Schedule testing if:
- Remediation was completed and you want documentation of post-work conditions
- A musty odor persists with no visible growth
- You're buying or selling a property and need an objective read on conditions
- You've had repeated moisture issues and want a baseline
DIY vs. Professional Verification: What Makes Sense
DIY mold test kits are widely sold and widely misunderstood. A petri dish left open in a room will grow something in almost any home, because mold spores are present in outdoor and indoor air everywhere. A positive dish tells you spores exist, not whether levels are elevated, what species are present, or whether remediation worked.
Professional testing uses calibrated sampling equipment, defined protocols, and laboratory analysis, which makes results comparable and defensible. If you're documenting conditions for a real estate transaction, an insurance conversation, or your own peace of mind, professional sampling is the version that holds up.
Cleaning, Ventilation, and Preventing Future Mold Growth
Preventing future mold growth is a maintenance habit, not a one-time event. The same three conditions that let mold grow the first time will let it grow again: moisture, organic material, and still air.
Build these habits into your routine:
- Clean surfaces with appropriate products. Mild detergent and water handle most routine cleaning. For porous materials that were previously affected, replacement is often the practical answer.
- Skip harsh chemicals where they aren't needed. Bleach on a porous surface doesn't reach the roots of growth and can leave behind irritating residue.
- Ventilate deliberately. Run exhaust fans, open windows during dry weather, and let air move through closed-off rooms.
- Keep an eye on the crawlspace and attic. These spaces drive indoor humidity more than most homeowners realize.
- Fix leaks promptly. A slow drip under a sink is a future mold problem on a schedule.
If you're dealing with musty odors that keep returning despite cleaning and ventilation, that's a signal worth investigating rather than masking. JLX Environmental offers odor removal and crawlspace and attic treatment as part of a condition-based evaluation.
Mold comes back when moisture comes back, which is why remediation that ignores the source is a temporary fix. JLX Environmental handles licensed mold remediation, mold testing and indoor air quality evaluation, air duct cleaning and sanitizing, odor removal, and post-remediation verification across the Treasure Coast and Space Coast. If you've gotten quotes elsewhere, our Quote-Beat Guarantee applies to comparable written mold-remediation quotes from another Florida-licensed mold remediator, and we'll beat a qualifying quote by at least 10%. Get your free quote from JLX Environmental and find out what's actually driving the conditions in your home.
Frequently Asked Questions
How long should I wait before scheduling indoor air quality testing after mold remediation?
Wait until the remediation work is fully complete and any dust or debris has settled. JLX performs post-remediation air testing after its remediation work and submits samples to a laboratory for analysis. If you hired a different provider, ask them when their work is finished and whether they offer verification. Scheduling too early can capture airborne particles still disturbed by the work itself, which makes results harder to interpret.
What role does humidity control play in post-remediation air quality?
Humidity control is one of the most important factors in keeping indoor air quality stable after remediation. When relative humidity climbs above roughly 60%, mold spores that are already present in dust and on surfaces have the moisture they need to grow again. Running a dehumidifier, using exhaust fans in bathrooms and kitchens, and checking for hidden leaks with a hygrometer all help keep moisture in check. A licensed mold remediator can advise on what levels to target for your property.
Is air duct sanitizing recommended after mold removal?
It depends on what the ducts look like and whether the HVAC system was part of the affected area. If visible growth, musty odors, or heavy dust were present in the system, professional air duct sanitizing can help reduce the reservoir of spores and debris that recirculates through the home. JLX offers air duct cleaning and sanitizing as part of its environmental services. A visual inspection is the best way to decide whether it is appropriate for your situation.
How can I improve air circulation after mold remediation?
Improving air exchange rate and ventilation helps dilute airborne mold spores and particulate matter. Open windows when outdoor humidity is low, run bathroom and kitchen exhaust fans, and keep HVAC filters clean and replaced on schedule. Ceiling fans and portable air purifiers with HEPA filtration can help move and filter air in individual rooms. Avoid blocking return vents with furniture. If musty odors persist despite these steps, schedule indoor air quality testing to evaluate conditions.