Table of Contents
- What Mold Identification Testing Actually Tells You
- Mold Inspection vs Testing: Two Different Jobs
- How Professionals Collect Samples for Mold Identification Testing
- What a Professional Mold Assessment Includes Beyond Sampling
- Laboratory Methods: Microscopy, Culture, and DNA-Based Identification
- Interpreting Mold Laboratory Results in Context
- DIY Mold Test Kits: What They Can and Cannot Do
- Post-Remediation Verification: Confirming the Work
- Frequently Asked Questions
Last Updated: October 3, 2026
What Mold Identification Testing Actually Tells You
Mold identification testing means collecting samples from a building and having a laboratory analyze them to learn what types of mold or fungal material are present.
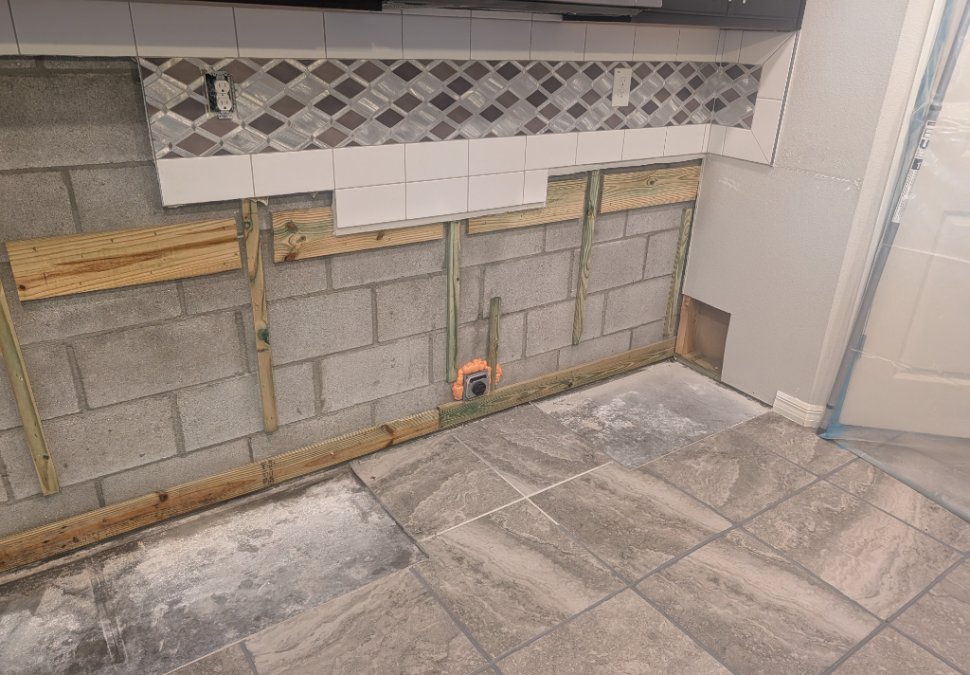
Here is the part most people get wrong: testing does not determine the entire condition of a building. Visual observations, odors, moisture conditions, building history, and other findings provide context, while testing tells you what was present in the sample.
That distinction matters. The EPA's mold guidance for homeowners makes clear that there are no federal standards for airborne mold, and no threshold that separates a "safe" building from an unsafe one. So a lab report is one piece of evidence, not a verdict.
Mold Inspection vs Testing: Two Different Jobs
A mold inspection and mold testing are not the same service.
A mold inspection is a visual, condition-based evaluation: walking the property, checking for moisture, examining building materials, and tracing where water may be getting in.
Testing without an inspection or other building context is often difficult to interpret.
In most situations, the useful approach is to evaluate conditions first, sample when appropriate, and interpret the results together.
How Professionals Collect Samples for Mold Identification Testing
Sample collection drives most of the variability in results. The method has to match the question; pick the wrong one and the lab returns a report that answers nothing.
Three collection methods cover most residential work: air, surface, and bulk samples. Each answers a different question, and none replaces a visual inspection.
Matching the Sampling Method to the Question
Before any cassette is loaded, the inspector should be able to state what question the sample answers:
Question you are trying to answer | Method that fits | Method that does not |
|---|---|---|
Are airborne spores elevated in this room right now? | Air sample (with an outdoor comparison) | Tape lift, bulk sample |
What is growing on this visible stain? | Tape lift or swab | Air sample |
Is the material behind this baseboard colonized? | Bulk or destructive sample | Air sample alone |
Is there a hidden reservoir feeding the air? | Inspection plus targeted surface or bulk sampling | Any single air sample |
A tape lift cannot tell you what is in the air, and an air sample cannot tell you what is on a wall. When a report confuses, the method usually did not match the question.
Air Samples and Bioaerosols
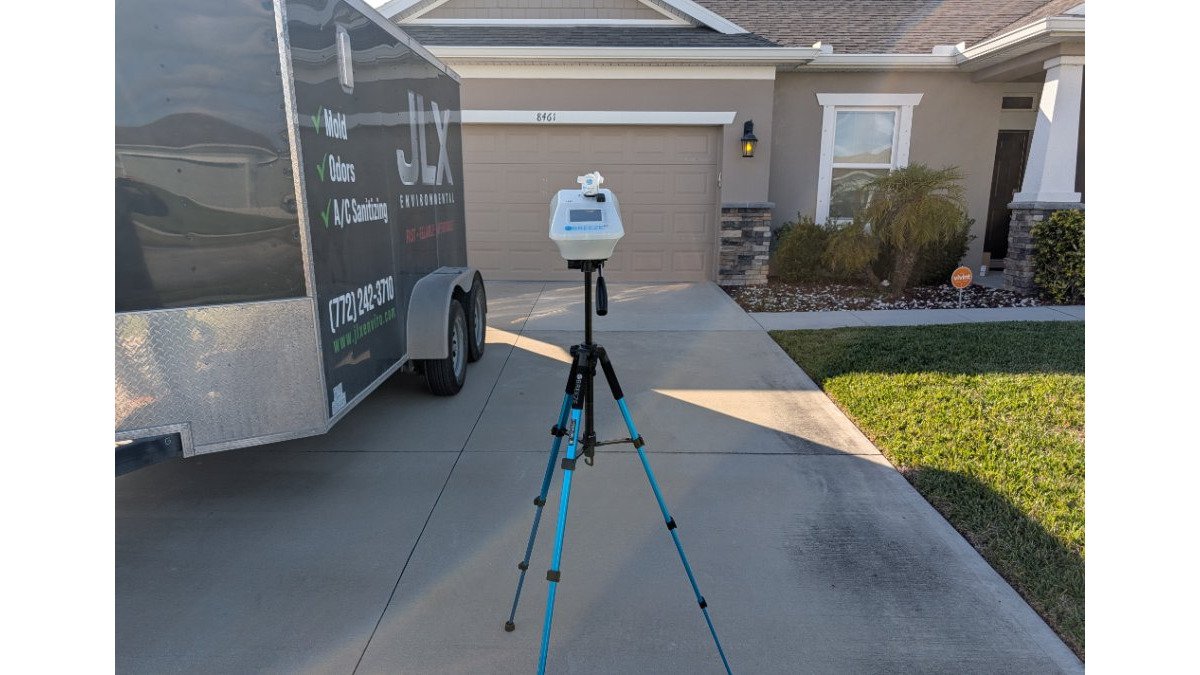
Air sampling captures bioaerosols, airborne particles including mold spores and hyphae fragments.
Two things decide how useful the sample is: where it was taken and what it is compared against.
A few practical points that affect results:
HVAC operation, open doors or windows, recent cleaning, occupant activity, and other conditions at the time of sampling can influence airborne spore counts and should be considered when interpreting results.
- Sample height and location matter; a sample taken near a return vent reads differently than one taken mid-room.
- Shipping time and handling can affect viability, especially for culture-based analysis.
Air sampling alone cannot tell you where growth is or how much material is affected. It is one data point, read alongside what the inspector saw.
Surface Sampling: Tape Lift and Swab Methods
Surface sampling checks what sits on a material.
Tape lifts work well on dry, visible growth; swabs work better on damp or irregular surfaces.
Surface samples can help identify fungal material collected from a specific visible area. The result should be considered alongside moisture conditions, affected materials, and the extent of the observed condition when determining next steps.
Bulk Sampling and Destructive Sampling
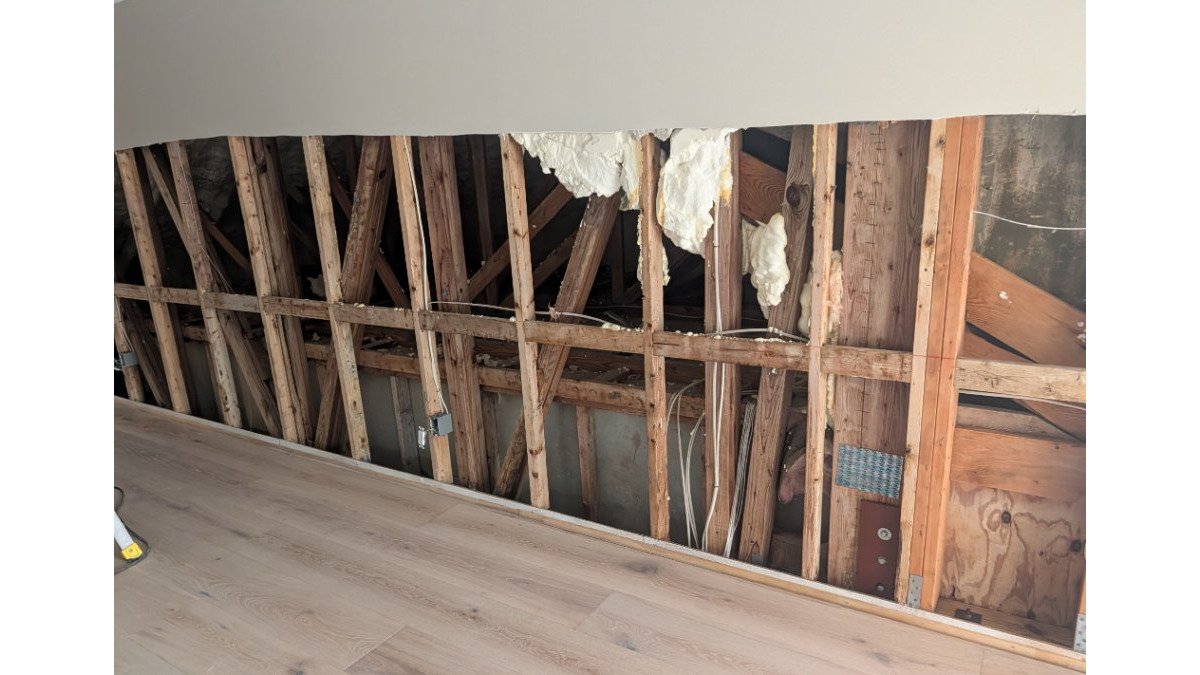
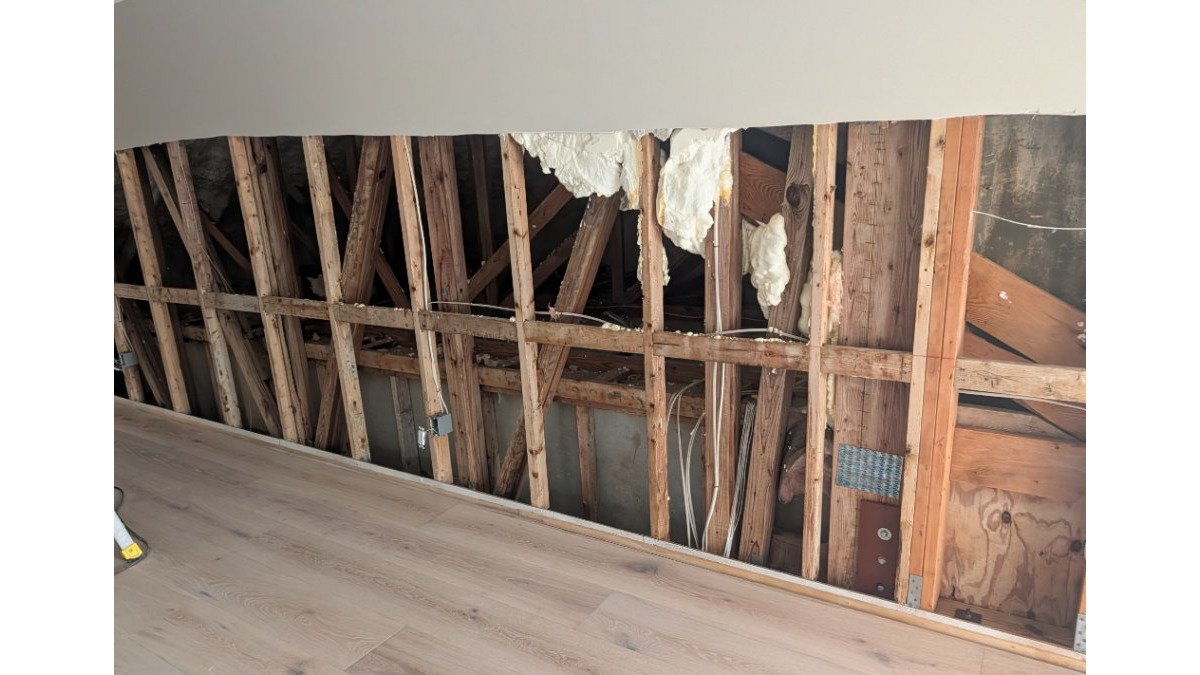
Bulk sampling removes a piece of the actual material, such as drywall or carpet. Destructive sampling goes further, opening a wall cavity or pulling back a baseboard to reach hidden growth.
These methods give the clearest picture of what is growing on a specific material, but they cause damage, so they are used when the answer justifies it, for example, repeated moisture issues where prior cleaning did not resolve the problem and the inspector needs to know whether the material itself is colonized.
Sample Count, Controls, and Chain of Custody
How many samples and what controls are used can matter as much as the method. A single indoor air sample with no outdoor comparison is hard to interpret. Many inspectors take at least one outdoor sample and one or more indoor samples, sometimes in multiple rooms when layout or HVAC zoning suggests different conditions.
Chain of custody paperwork tracks who collected the sample, when, where, and how it was handled before analysis. If incomplete, the lab result is harder to rely on, and homeowners can reasonably ask to see it.
When Sampling Is Not the Right Next Step
Sampling is not automatically the right move. If visible growth is obvious, the moisture source is identified, and the affected materials are clear, a remediation quote may be more useful than a lab report.
That is the practical test. If the sample result would not change what you do next, the sample may not be worth taking.
What a Professional Mold Assessment Includes Beyond Sampling
A professional mold assessment is mostly not sampling.
What the assessment actually covers:
- A walkthrough of the whole property, not just the room with visible growth
- Moisture readings on walls, floors, and ceilings
- A look at the HVAC system and how air moves through the building
- Building history: past leaks, humidity problems, renovations
- Identification of the moisture source, because mold needs water to grow
That last point is the one that decides whether remediation works. Remove the mold, leave the moisture, and it comes back. The EPA's indoor air quality resources puts moisture control at the center of mold prevention for exactly this reason.
Laboratory Methods: Microscopy, Culture, and DNA-Based Identification
Once samples reach a lab, three main methods identify what is in them.
Method | What It Shows | Turnaround | Main Limit |
|---|---|---|---|
Direct microscopy | Spore types and counts | Fast | Often cannot identify spores to species level |
Culture-based | Living colonies, genus/species | Slow | Only grows what survives shipping |
DNA-based | Species-level ID, ERMI score | Moderate | Shows presence, not source or extent |
Direct Microscopy and Non-Viable Analysis
Direct microscopy puts the sample under a microscope and counts what is there. This is a non-viable analysis, counting spores whether or not they could still grow.
The analyst identifies spores by shape and size, often to genus but not always to species. It is fast and gives a spore count per volume of air.
Culture-Based Identification
Culture-based identification places the sample on a growth medium and waits. Whatever grows gets identified.
The catch: only living spores grow, and only those that like that medium. A spore that died in transit never shows up, so results take longer and the picture is partial by design.
DNA Probes, Primers, and ERMI
DNA-based methods use primers and DNA probes to detect specific fungal species by their genetic material, reaching species level regardless of whether the spore was alive.
The best-known use is the Environmental Relative Moldiness Index, or ERMI, which compares 36 specific fungi in a dust sample against a reference database. ERMI was developed as a research tool and should not be treated as a standalone determination of whether a building requires remediation.
Interpreting Mold Laboratory Results in Context
A lab report is a set of numbers and names, not a diagnosis of your building.
Read results alongside:
- What the inspector saw during the walkthrough
- Moisture readings taken at the same visit
- The building's history of leaks or humidity
- The types of spores found, not just the total count
- How the sample was collected and how long it sat before analysis
Limit of detection matters too: "not detected" means the method could not find it, not that it is absent. No report can tell you what a given spore count means for the people in the building; health questions belong with a healthcare professional.
DIY Mold Test Kits: What They Can and Cannot Do
DIY mold test kits are cheap and easy to use, and that is where the advantages end. The more useful question is whether spending money on any test will change what you do next.
What a Kit Actually Measures
Most store-bought kits fall into two categories:
- Petri dish kits. You open a dish, leave it out for a set time, close it, and mail it in. The lab reports what grew.
- Swab or tape kits. You wipe or press a surface and send the sample in.
A petri dish left open grows whatever lands in it, including spores already in the air before you opened it.
Swab and tape kits are more targeted but still only tell you about the spot you sampled, not whether the growth is active, how far it extends, or what feeds it.
The Cost-Benefit Question Nobody Answers
The honest framing is not "DIY vs. professional" but "will this test change my next step?"
A few scenarios help clarify:
- You see visible growth and know where the moisture is coming from. A test rarely changes the plan. The next step is addressing the moisture and, depending on the materials and extent, cleaning or remediation.
- You see visible growth but do not know the source. A test still does not find the source. A moisture inspection does. Testing here often adds cost without adding direction.
- You smell something musty but see nothing. This is where testing can add value, but only when paired with an inspection that looks for hidden moisture and conditions that support growth.
- You had work done and want to confirm conditions afterward. This is a post-remediation verification question, not a DIY kit question.
A kit that returns a result you cannot act on has not saved money. It has added a step.
What Kits Cannot Do, Regardless of Price
No mold test, DIY or professional, can:
- Tell you where the mold is coming from
Determine the overall condition of a building from the sample result alone
- Show whether growth is hidden behind a wall
- Replace a moisture inspection
- Determine whether remediation is necessary or what its scope should be
- Prove a building is free of mold growth
That list applies to professional sampling too. The difference is that professional sampling is collected and interpreted alongside a visual inspection, moisture readings, and building history, which is what makes it useful; a kit result arrives with none of that context.
A Simple Decision Path
If you are trying to decide whether to test at all, work through these in order:
Is there visible growth, a persistent musty odor, or a known moisture history? If none of these conditions are present, testing may not provide useful information unless there is another specific reason for concern.
- Is the moisture source known and the affected area obvious? If yes, the useful next step is usually a remediation quote, not a test.
- Is the source unknown, or is the extent unclear? An inspection that includes moisture evaluation is the right next step. Sampling may be added if it will answer a specific question.
- Are you trying to confirm conditions after remediation? That is a verification question, handled separately from a DIY kit.
Visual identification by someone who knows building materials usually answers more than a dish ever will. When it does not, the answer is usually an inspection, not a kit.
Post-Remediation Verification: Confirming the Work
Post-remediation verification happens after mold remediation is finished, checking that the work did what it was supposed to do.
For normal occupied interior remediation, JLX Environmental performs post-remediation air testing after its remediation work and submits samples to a laboratory for analysis.
Lab results are used with visual and condition-based observations when evaluating post-remediation conditions.
For crawlspace and attic remediation projects, JLX uses visual and condition-based post-remediation verification rather than air sampling within those spaces.
Frequently Asked Questions
Can I identify mold using a picture?
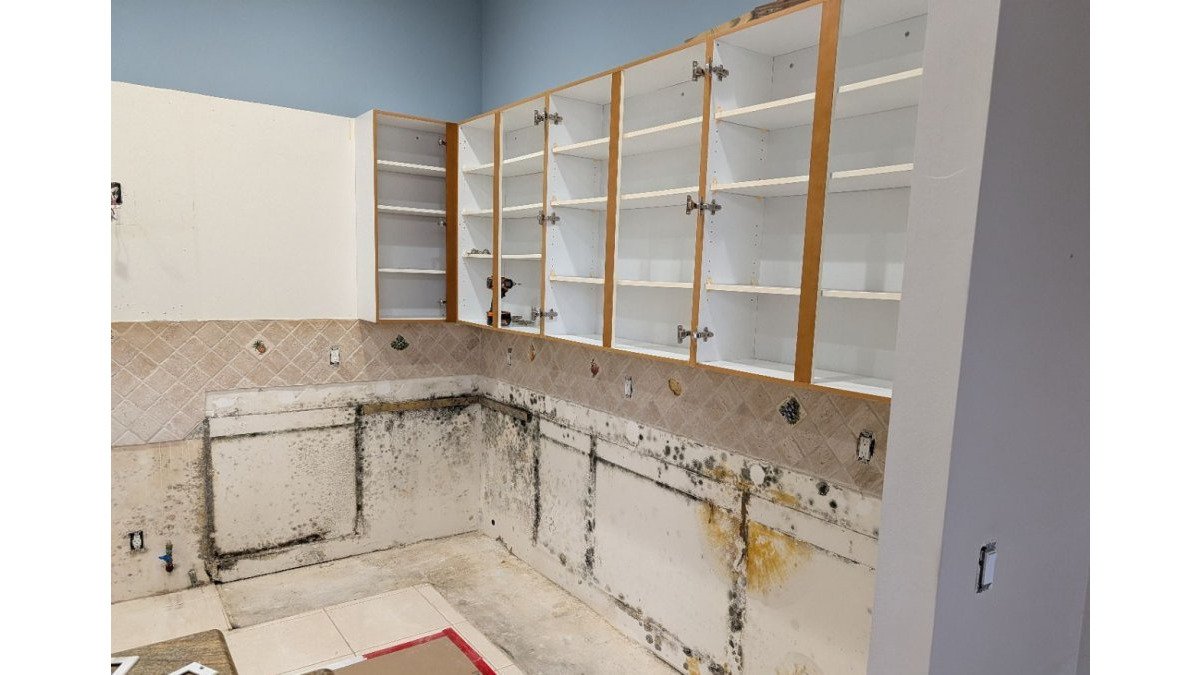
A photo can document where growth appears and how far it spreads, which helps a professional plan an assessment. It cannot confirm species or whether growth is active. Many molds look alike on camera, and staining, dirt, and efflorescence are easily mistaken for mold. If you want confirmation, a professional mold assessment pairs visual observation with moisture readings and, when appropriate, laboratory analysis of air or surface samples.
Is professional mold testing necessary for every property?
No. Visible mold on a small area of a non-porous surface with a known moisture source may not need sampling at all. Testing is most useful when the source is unclear, when occupants or a transaction require documentation, or when post-remediation verification is planned. A professional mold assessment can determine whether sampling adds value or whether the next step is simply fixing the moisture and cleaning or removing affected material.
Are DIY mold test kits reliable for identifying mold species?
Petri-dish kits that rely on settled spores can show that mold spores are present in the air, which is true in nearly every home. They do not determine the source, extent of growth, or whether remediation is needed, and many consumer kits do not provide the same sampling controls, documented handling, or professional interpretation used in professional testing. If species-level identification matters, samples collected by a trained professional and analyzed by an accredited laboratory provide more dependable information.
What is the difference between a mold inspection and mold testing?
A mold inspection is the visual and condition-based evaluation: finding moisture sources, checking building materials, and mapping the extent of growth. Mold testing is the sampling and laboratory analysis step that identifies spores or fungal material in air, on surfaces, or in bulk material. Testing supports the inspection; it does not replace it, because laboratory results alone cannot locate the source or define the scope of remediation.
Mold in a Florida home is usually a moisture story, not a mystery. The work is finding the water, fixing the source, and confirming the cleanup was done properly. JLX Environmental handles licensed mold remediation, mold testing and indoor air quality evaluation, and post-remediation verification for homes and commercial properties across the Treasure Coast and Space Coast. Get started with JLX Environmental and get a clear, condition-based answer about what your property actually needs.